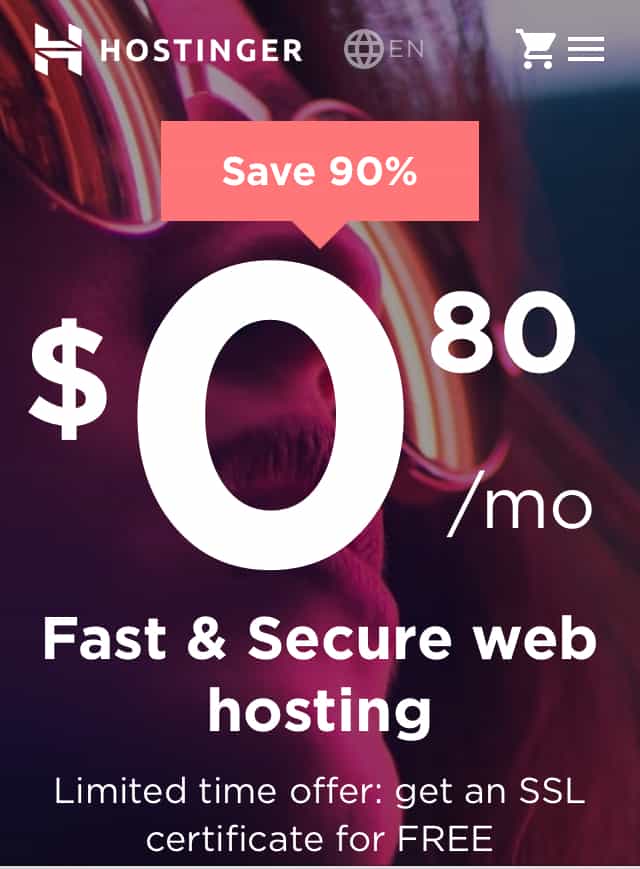
Hostinger is known for cutting edge service and performance and unmatched affordability.
During special promotions, you can get hosting for as low as .80 cents per month. Which is a whopping 90% off web hosting. How amazing is that?
Here’s how easy it is to start a blog with Hostinger.
Why You May Want To Start A Blog With Hostinger
As a Hostinger customer you get:
- High-quality web hosting
- Unlimited bandwidth & SSD space
- Powerful, user-friendly control panel
- Superior speed performance
- Guaranteed 99.9% uptime
- Easy-to-use website builder and a 1-click installer
- Free daily backups (cloud, VPS), weekly backups (shared)
- Free & Premium SSL certificate
- Full Root Access & IPv6 Support. Multiple PHP versions.
- 24/7 dedicated live-chat customer support
- 30-day money-back guarantee
- The latest tech & tools to get you online within minutes
- Hostinger is trusted by thousands
Free Website Transfer
Hostinger sale offers new customers free website transfers, so if you already have a website and just need to move it, it’s simple.
A Hostinger tech will migrate your current website free of charge.
How To Start A Blog or Website With Hostinger, Step-By-Step
Once you take advantage of Hostinger’s web hosting deal, it’s time to set up your website.
This will only take a few minutes!
We will go through the most important features and tools you will need to use now.
Here’s everything you need to know for how to start a blog or website with Hostinger.
Step 1 – Registration
First things first, head over to Hostinger, choose your hosting package, and check out.
You will have the option to either register a new domain with Hostinger or use a domain that you already have registered somewhere else.

Then you will register your domain name and hosting.
This is a quick formality which you can complete in less than a minute.
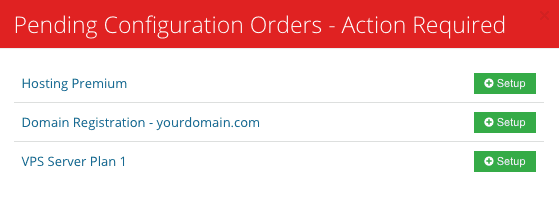
Complete The Hosting Order
The only thing you need to do in order to complete your hosting order is to follow the steps to enter your domain details.
You can complete this from your Home section and click the Setup button next to the ‘hosting order’. In the new window enter the required details and hit the Setup button.
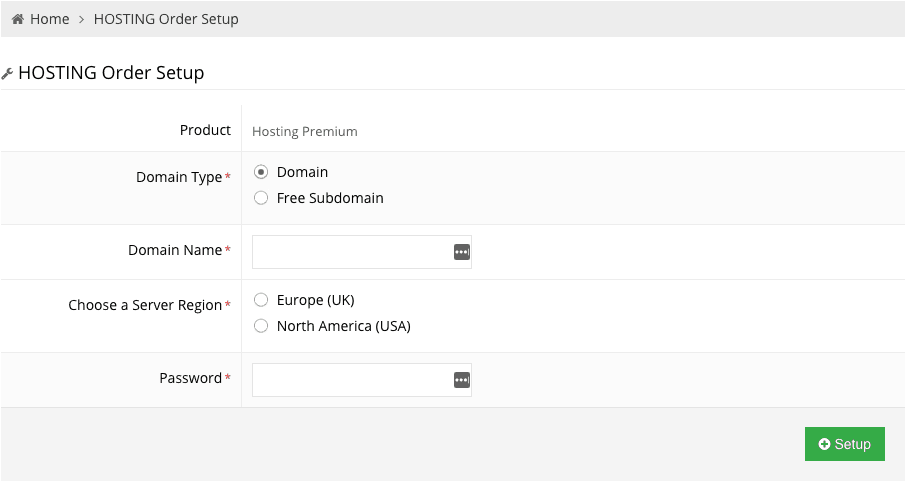
Choose the server region that is closest to where your target audience is.
If you want your blog to target an American audience, select the ‘USA’ even if you yourself physically live elsewhere.
This is because you want your website to load as fast as possible. Having your server in the same region as your site visitors will help this.
So if you intend to have US traffic, the server you want to select is the USA.
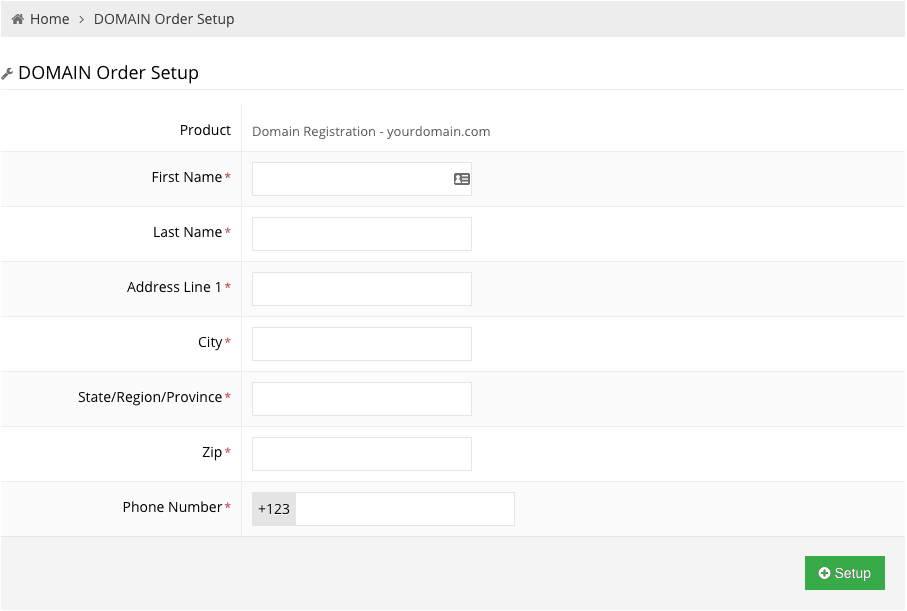
Complete The Domain Order
Just like your hosting, your domain name order can be completed by accessing Home and clicking the Setup button next to the domain name order.
You will be redirected to Domain Order Setup page where you will be asked to fill in your WHOIS details.
Step 2 – Using The Hostinger Members Area aka Hostinger CPanel
Login to the Hostinger members area. If you need your login link, you can find it in your Hostinger welcome email.
The Hostinger members area (also known as Hostinger Cpanel) was designed to be a user-friendly interface.
They have placed all of the tools you need in an easy-to-navigate layout.
If you are brand new to hosting and website creation, this interface may look overwhelming at first but I assure you, everything is very straight forward.
You will have the hang of it quickly!
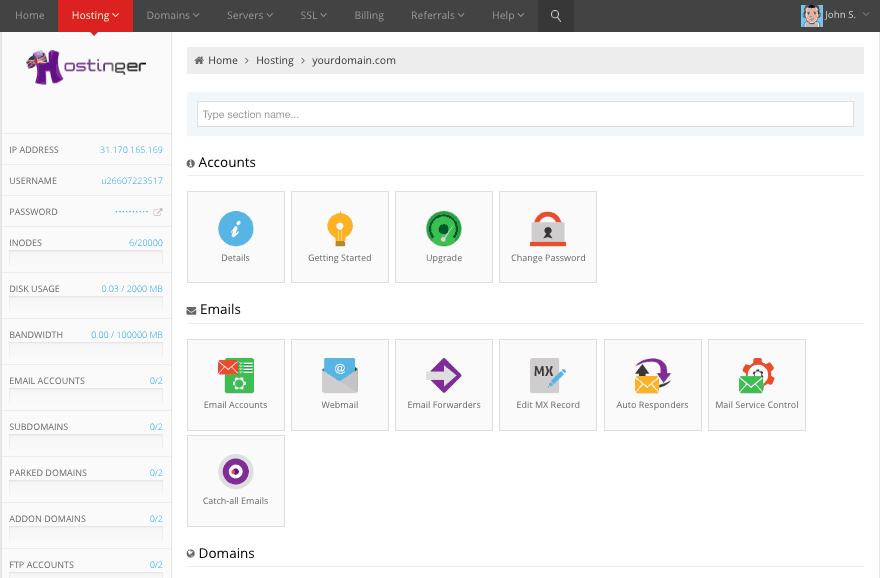
The top navigation bar in your Hostinger CPanel has all of the main links to the tools you will use most.
The navigation links at the top of your Hostinger members area look like this:

Navigating Hostinger CPanel
- Home – Here you will see the latest messages, activity log and your active services.
- Hosting – Use this section to access and manage all your hosting accounts. A new hosting account can be ordered from here as well
- Domains – Used to manage all domains registered with Hostinger. You can also register a new domain name here or renew your existing one.
- Servers – Here you can order a new VPS (virtual private server) or manage your existing server.
- SSL – This is where you order or manage your SSL certificate. SSL is an important security feature and required by Google. It secures your website and displays a little padlock in the address bar when someone visits your website.
- Billing – Access your billing and payments and receipts for all the services you are paying for.
- Referrals – This is where you get your referral link. You can share your referral link around and earn money for referring people to become a hosting customer.
- Help – Access 24/7 support here for any questions or issues you may have.
Hostinger Profile And Password Management
You may want to update your user profile details or change your password at some point.
You can do this from your profile settings page. Here you will also be able to see your profile activity and login activity, so you can track changes that may occur on your account with ease.
Step 3 – How To Connect Your Domain To Your Hostinger Hosting Account
For our website to appear online and be accessible to the world, you need a domain name.
You have 2 options for how to connect your domain to your Hostinger hosting account:
Option 1: Register your domain with Hostinger
If you choose to register a new domain name during registration, you don’t have to change any DNS details – your domain name will be automatically pointed to Hostinger servers.
Option 2: Point a domain to Hostinger from a different domain registrar
If you already have a domain name, or you take advantage of the .88 cent domain sale from Namecheap, you can do so and then just point it to your Hostinger nameservers.
Your Hostinger nameservers can be found in the Hosting -> Members Area -> Details section of your Hostinger CPanel.
Copy those name servers and then paste them into the DNS / nameserver section in your domain’s account (replacing its current nameservers).
Once you have pointed your domain name, allow 24 hours for DNS to fully propagate.
Creating subdomains, add-on domains, parked domains, and redirects
Hostinger gives you full control of your domain name and DNS zone. In addition, you can create subdomains, parked and add-on domains and redirects.
All this can be done on the Hosting -> Members Area page.
Creating An Email Account With Hostinger
Did you know that as a Hostinger customer you can have one or many domain name specific email addresses, for free?
That means you can have [email protected] as an email address.
Create a new email by going to the emails section under Hosting -> Members Area.
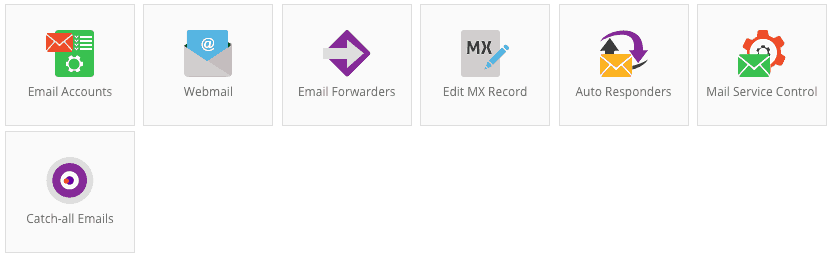
Navigating Hostinger Email Settings
- Email Accounts – Create and manage existing email accounts. Here you can also find all the required details to configure a desktop email client.
- Webmail – RoundCube webmail client allows you to read and send emails from any computer.
- Email Forwarders – This tool allows you to forward emails from one email address to another. For example, using this tool you can forward all emails from [email protected] to [email protected].
- Edit MX record – Useful if you want to send and manage an email account on a different hosting or service.
- Auto Responders – Automatically reply to anyone who sends you an email.
- Mail Service Control – Enable / disable various email services.
- Catch-all Emails – Creating a catch-all email address can prevent loss of an important email message. It will automatically catch all emails sent to an incorrect, non-existent email address.
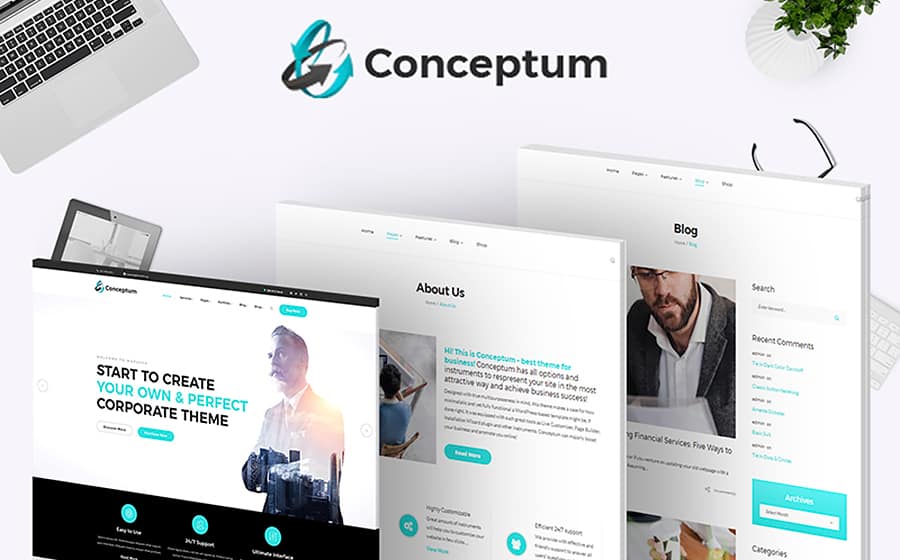
Browse hundreds of premium WordPress themes
Uploading An Already Created Website To Hostinger
Moving or migrating a website to Hostinger is very easy. There are 3 different tools you can use to upload your website files to your Hostinger account:
- Import Website – This tool makes transferring a website as easy as possible. Simply select a .zip, .tar, or .tar.gz archive of all your website files and it will be extracted directly to the public_html folder.
- File Manager – Using a web-based file manager you can upload and manage your website files. It’s fast and super easy to use.
- FTP Access – Hostinger supports File Transfer Protocol (FTP), therefore you can use an FTP client to upload your website files. You can find the details necessary to connect to FTP in the welcome email message or FTP Access section.
Creating A New Website With Hostinger
Creating a professional new website from within your Hostinger account is very easy and fast.
You have two options for creating a new website.
- CMS Installer (Recommended) – Use this 1-click install service to quickly install WordPress.org, Joomla, or Moodle. We recommend that you install WordPress.org!
- Website Builder (not recommended) – A drag and drop website builder. Simple to use, but you will have less control of your website, and it’s less professional than WordPress (option 1).
What To Do After Installing WordPress
Once your website is installed, you will need to do a few tasks to get your website looking and functioning how it should.
Don’t worry, you don’t need to know how to code or do anything technical.
See what to do after installing WordPress for a list of 30 blog tips and resources to help you get your website looking pro from the start.
You will also want to start creating quality blog content and monetize your blog at the same time.
How To Monetize Your Blog
There are many ways to make money blogging.
From hosting ads and sponsored content on your blog to making money by affiliate marketing, selling products and other revenue streams.
- How to make money blogging
- 6 common ways to monetize a blog
- Learn affiliate marketing
- High paying affiliate programs
Enroll in the Be Your Own Blog Boss course which will teach you everything you need to know to earn a full-time income from blogging
We recommend that you enroll in the best blogging course Be Your Own Blog Boss.
It covers all types of blog revenue streams especially affiliate marketing, as well as training on email marketing, social media marketing, and content creation.